
🏠 BOS! Home
Home / Tips & Tricks / Portable QSLing

Portable QSLing

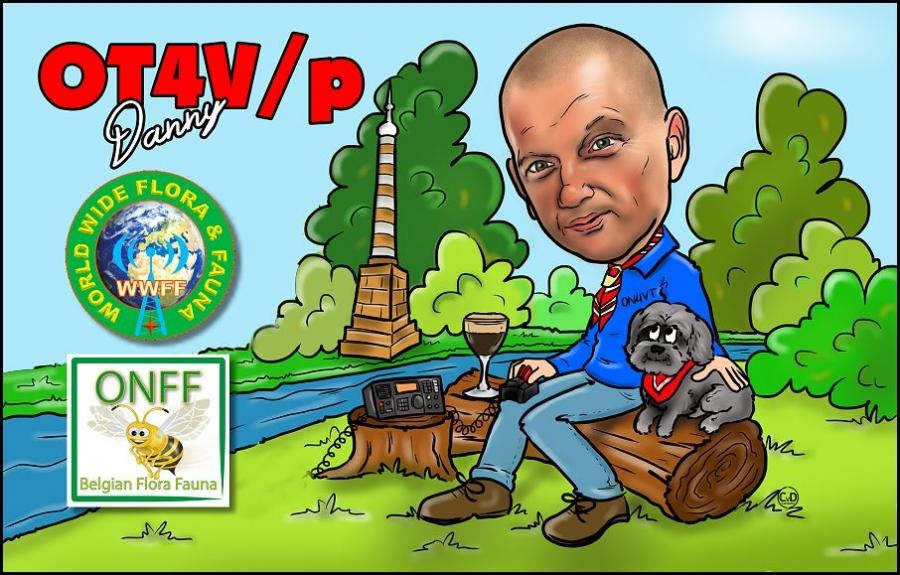
Important: DIGI-QSLs are processed by computers. This means it's very important that you send your DIGI cards with the correct callsign (read: the right suffix after your call!). "Call on the air" = "call to send DIGI" are two different callsigns for a computer and logging software! For example: OT4V and OT4V/p.

Whether or not you QSL for your outdoor activations is of course entirely your own choice. Paper QSL? Digital QSL? Here we try to give you some hints and tricks for correct QSLing (feel free to ignore this if you don't QSL at all).

Note that for a station outside your standard licence location, in Belgium you need to add a suffix to your callsign: /P for portable, /M for mobile and /MM for maritime mobile.

No Belgian outdoor award on this website requires your QSL cards (neither paper nor digital) to apply for awards (activators and hunters).

Paper QSL

A happy activator with a BOS! mug and his dog sorting a pile of paper QSL cards
1
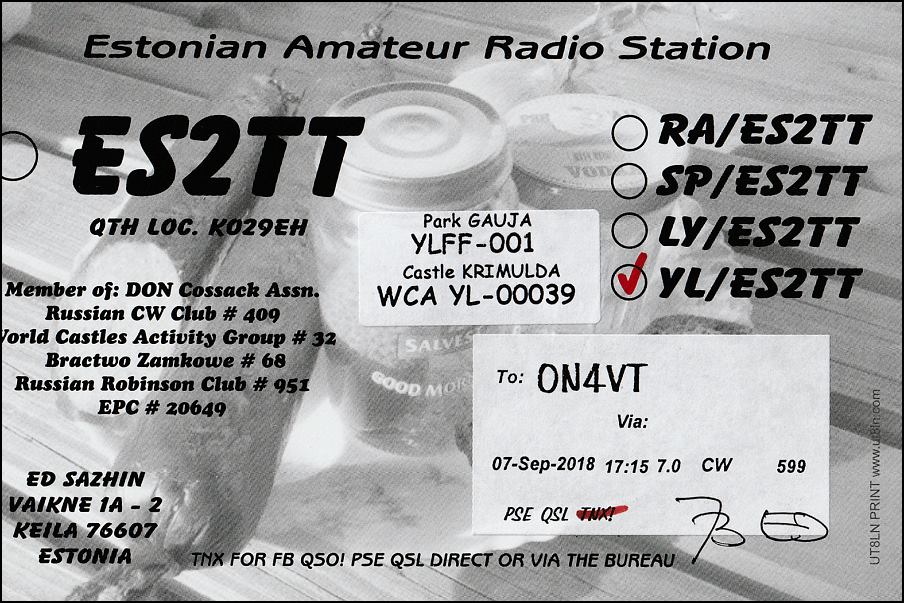
When printing QSLs specifically for your activations, don't forget to add the correct suffix to your callsign. Add the correct references, either on a label or handwritten.
2
Are you an occasional activator and the number of QSOs maybe isn't enough to print special QSL cards? Then clearly state on your card that you were portable (with the correct suffix) and add the correct references, either on a label or handwritten.

eQSL

Two ways of doing eQSL are described here: one if you always send the same eQSL layout, and a second if you make a different layout for each activation.

We assume you have already registered your MAIN callsign (e.g. ON4VT) with eQSL. You do NOT need to create different primary accounts and registrations for your different callsigns!

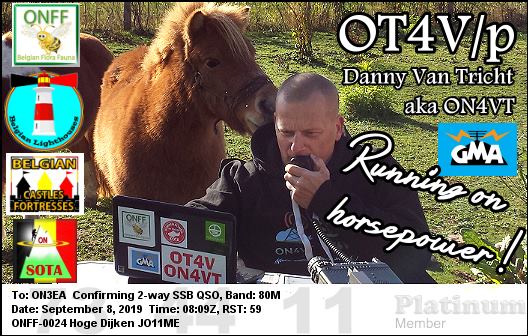
Creating correct .jpg files for a custom eQSL or hQSL card: 528 x 336 pixels, aspect ratio 0.64, keep space open for the QSO info

1. Same eQSL layout for all activations

A. Call used without /P /M suffix

1
Make sure your .ADI file contains the <QSLMSG> field, filled in with the reference number and possibly extra details such as the name of the reference. How you add this field depends on your logging program.
2
Log in to eQSL.cc with your MAIN callsign/account and upload your .ADI file in Foreground mode. The eQSL layout of your main account will be used, but only for the QSOs from the above ADI file will the comment field with reference number be shown.

B. Call used with /P /M suffix

Creating an eQSL sub-account
1
Log in to eQSL.cc with your MAIN callsign/account.
2
Create a SUB-account under your main account. Go to "My Profile" > "My other accounts". Register a new, linked account = SUB-account. Enter your call WITH /P or /M, the period of your activations (from your first activation far into the future), nickname (WWFF), city, country and click "Create new".
You now have a SUB-account with exactly the same capabilities as your main account, only the CALLSIGN now has the suffix /P or /M. If you don't change the layout, the layout of the main account will be used. To change the layout, go to "My eQSL Design" in eQSL.
Changing the eQSL design
3
Make sure your .ADI file contains the <QSLMSG> field, filled in with the reference number and possibly extra details.
4
Log in to eQSL.cc with your MAIN callsign/account, go to "My Profile" > "My other accounts", log in to the correct SUB-account and upload your .ADI file in Foreground mode.

2. Different eQSL layout per activation
New SUB-account per activation
1
Log in to eQSL.cc with your MAIN callsign/account.
2
Create a SUB-account under your main account. Go to "My Profile" > "My other accounts". Register a new linked account = SUB-account. Enter the call used during THIS specific activation, the period (be very precise with the start and end time of THIS activation), nickname (reference number), locator, city, country and click "Create new".
You now have a SUB-account with exactly the same capabilities as your main account, perfectly matched to ONE activation. If you don't change the layout, the layout of your main account will be used. For a custom layout for this specific activation: log in to the correct SUB-account and go to "My eQSL Design".
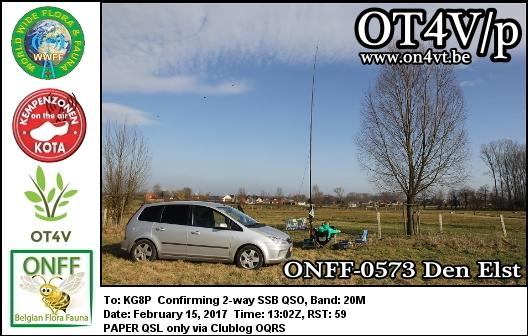
Custom eQSL layout per activation
3
Make sure the WWFF reference number appears in the comment field of the eQSL (if not already printed on your custom layout) via the <QSLMSG> field in your ADI file.
4
Log in to eQSL.cc with your MAIN callsign/account, go to "My Profile" > "My other accounts", log in to the correct SUB-account and upload your .ADI file in Foreground mode.

After many activations, your "My other accounts" page will look something like this:
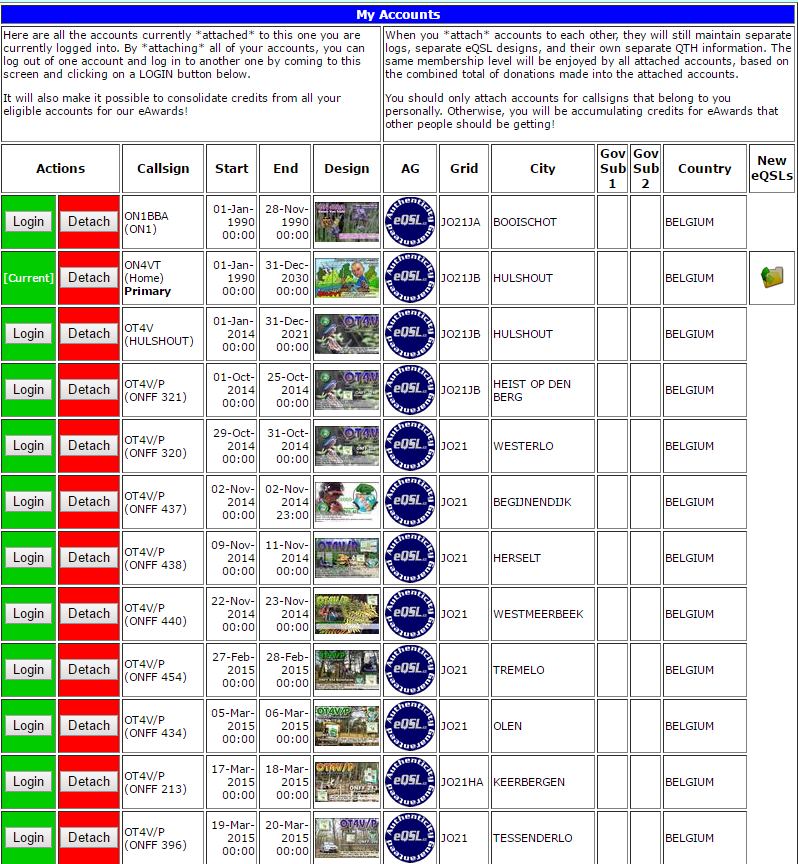
Overview of multiple eQSL sub-accounts

LoTW

Assuming you have already registered your MAIN callsign (e.g. ON4VT) with LoTW, you need to request a new Callsign Certificate from ARRL for your outdoor callsign, e.g. OT4V/P.

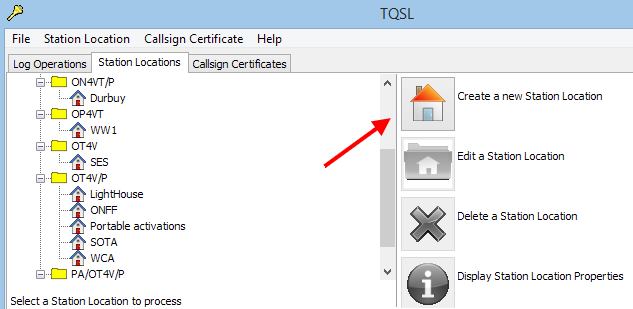
Once this certificate is installed in TQSL, you can create as many STATION LOCATIONS for OT4V/P as you like.

Creating TQSL station locations

If you wish, you can create a separate STATION LOCATION for EACH activation with the correct references and data. In the example above, DIGI cards for ALL activations are uploaded to ONE general Station Location.
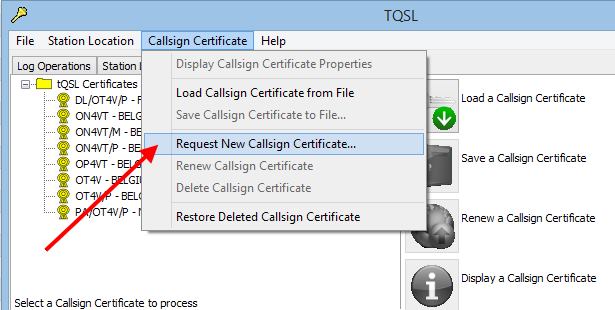
LoTW log operations tab

Next step: upload your ADIF log via the "Log Operations" tab, choose the correct callsign AND Station Location, and upload. That's all there is to it.

Clublog

Assuming you have already registered your MAIN callsign (e.g. ON4VT) with Clublog:
1
Log in with your main callsign and go to SETTINGS > Callsign.
2
Add your outdoor callsign, e.g. OT4V/P.
Adding a Clublog callsign Clublog settings
3
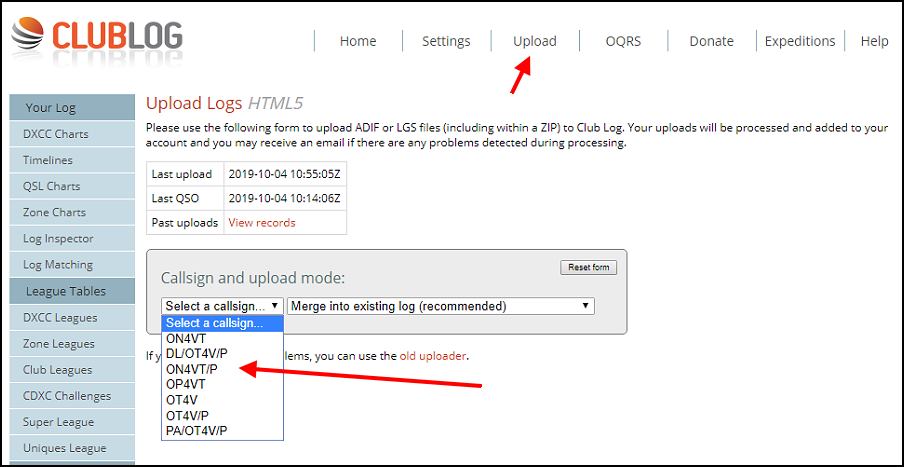
Upload your ADIF log with the correct callsign.
Clublog ADIF upload